From Theory to Practise
~ A Hands-On Session for SVN's Students ~

Take a look at our students’ latest venture into the world of Information Technology as we dive into a recent project undertaken by our Form 3 students that explored the complex design and operation of computers as well as gave them hands-on learning experience.
At the heart of this project were two simple yet profound objectives: firstly, to equip students with a solid theoretical foundation on how computers operate, and secondly, to allow hands-on experience in designing, disassembling and building a computer system through practical tasks. To achieve these goals, the project was divided into multiple phases, each designed to build upon previously gained knowledge. Throughout this project, students were allowed to be independent and also guided when needed, ensuring their complete understanding of computer hardware from theory to application.
In the first part of our project, students focused on getting to know the basics of how computers work. They learnt about the main parts of a computer; the processors, memory, storage, and peripheral devices such as keyboards and mice. This was all about understanding what each part does independently and how they all work together to make a computer function.
Students looked at simple yet detailed videos that showed them visually how these parts function and fit together inside a computer.
Understanding these basics was really important because it gave students a solid foundation to build on for the rest of the project similar to knowing the rules of the game before you start playing.
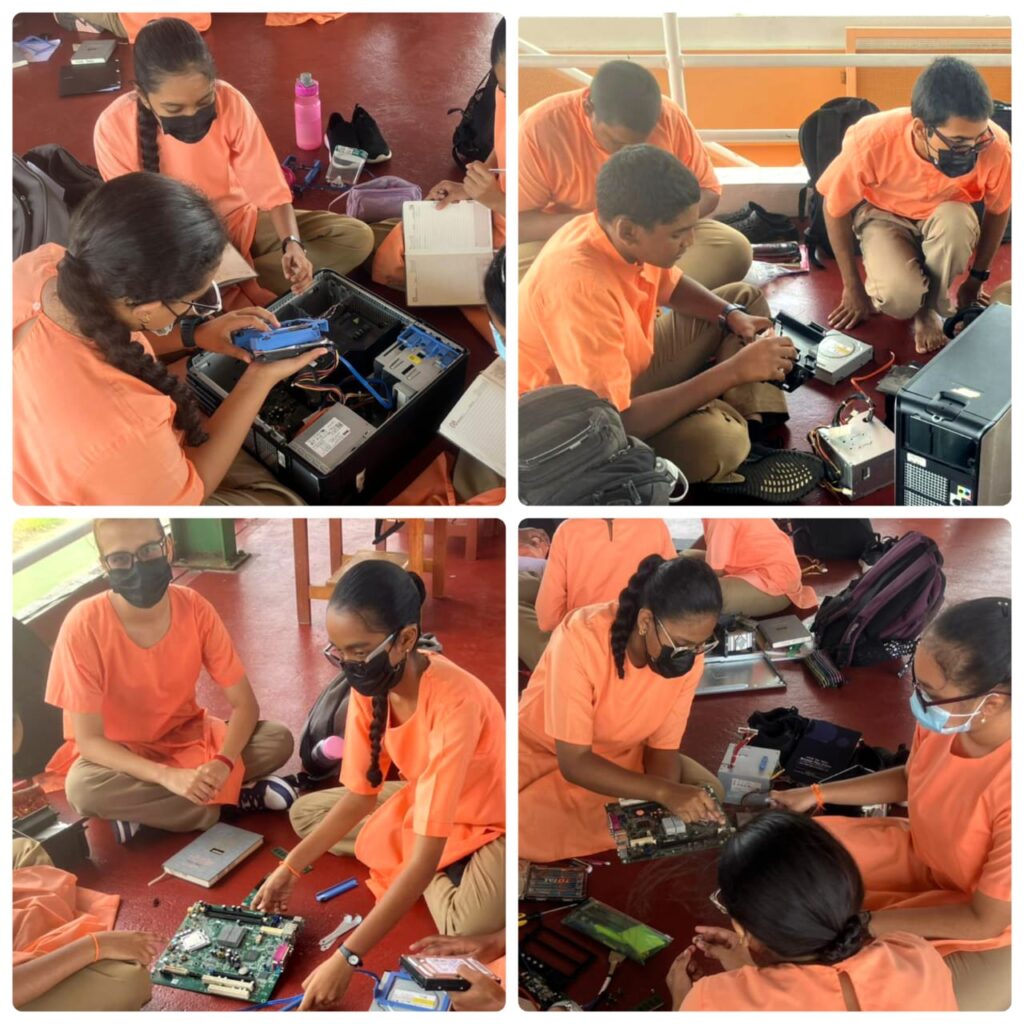
In the next step, students looked at easy-to-follow instructional videos that showed them exactly how to disassemble the Dell OptiPlex 360.
They then began the disassembly process according to the video. As they unscrewed screws, unplugged cables, and removed parts, students got a firsthand look at what’s actually inside the system unit of a desktop computer. It was like taking apart a puzzle to see how all the pieces fit together.

This hands-on experience was very valuable because it helped students understand computers in a more practical way. It’s one thing to read about how computers work, but actually seeing and touching the parts makes it all make a lot more sense.

Students disassembling the Dell OptiPlex 360
Once the Dell OptiPlex 360 was taken apart, students moved on to the next step: identifying all the different parts they had just uncovered. They carefully examined each component they had removed and learned to recognize its purpose and function within the computer system.
This activity was crucial because it helped students connect theory with practice. By seeing the actual parts up close and understanding what they do, students gained a deeper understanding of how computers function as a whole.
Students identifying the parts of the Dell OptiPlex 360
With a pile of computer parts in front of them, students faced the task of sorting and grouping these components into specific categories. They organized parts from different computers based on their similarities and functions, developing important organizational skills in the process.
This not only reinforced their understanding of computer components but also taught them the importance of order and efficiency in managing complicated tasks. By separating the parts into groups, students were then prepared for the next phase of the project.
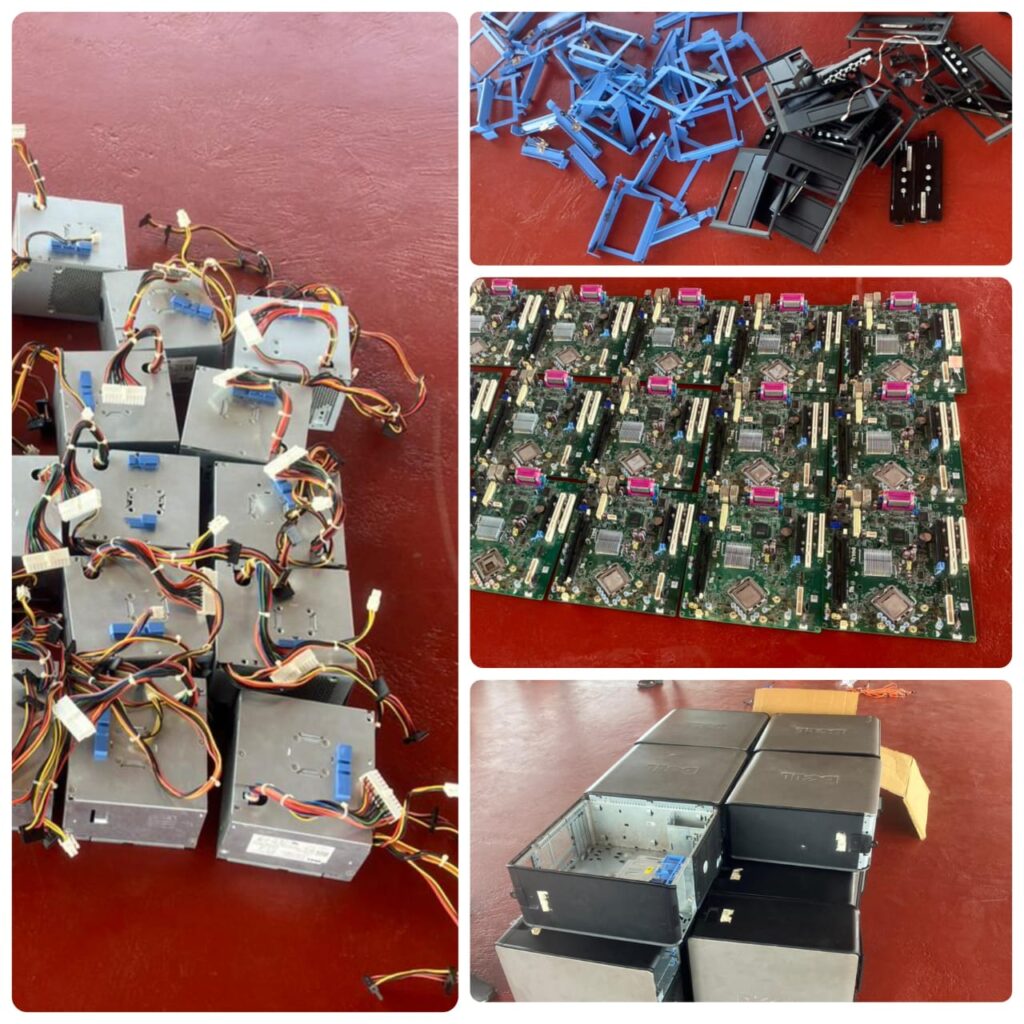 Various computer parts grouped together by Students
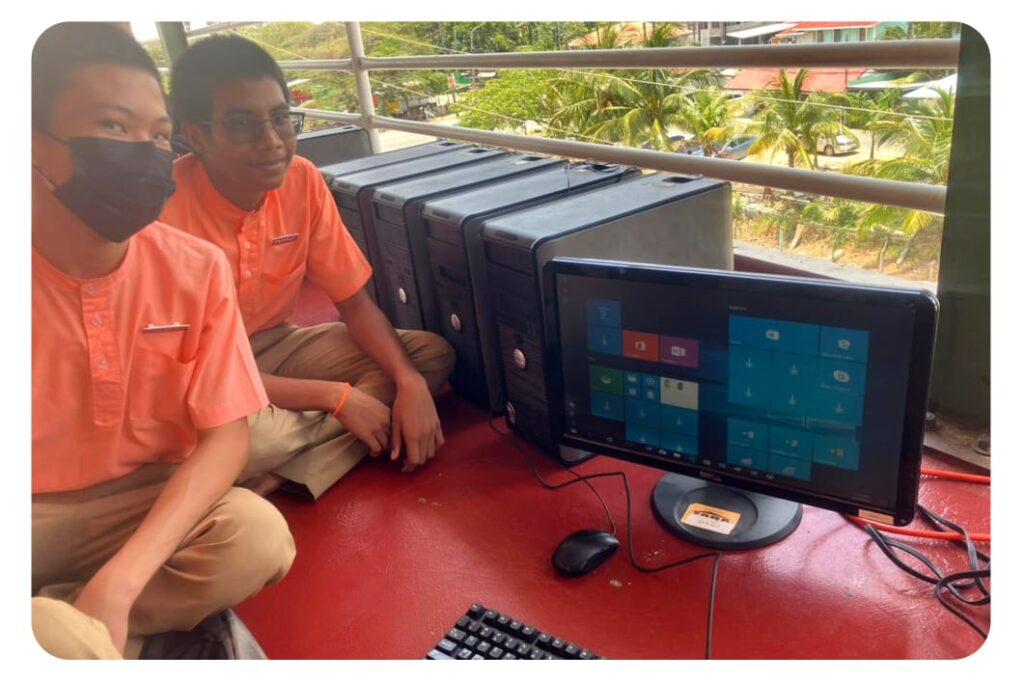
Students were now geared up for the most exciting phase; the challenge of building a brand-new computer system from scratch. They began by creating a detailed list of all the parts they need, carefully selecting components based on their compatibility and functionality.
This phase marked the culmination of their learning journey, as students put their previously gained knowledge and skills to the test in a practical way. From selecting the right parts to assembling them into a fully functional system, students demonstrated their proficiency in computer hardware.
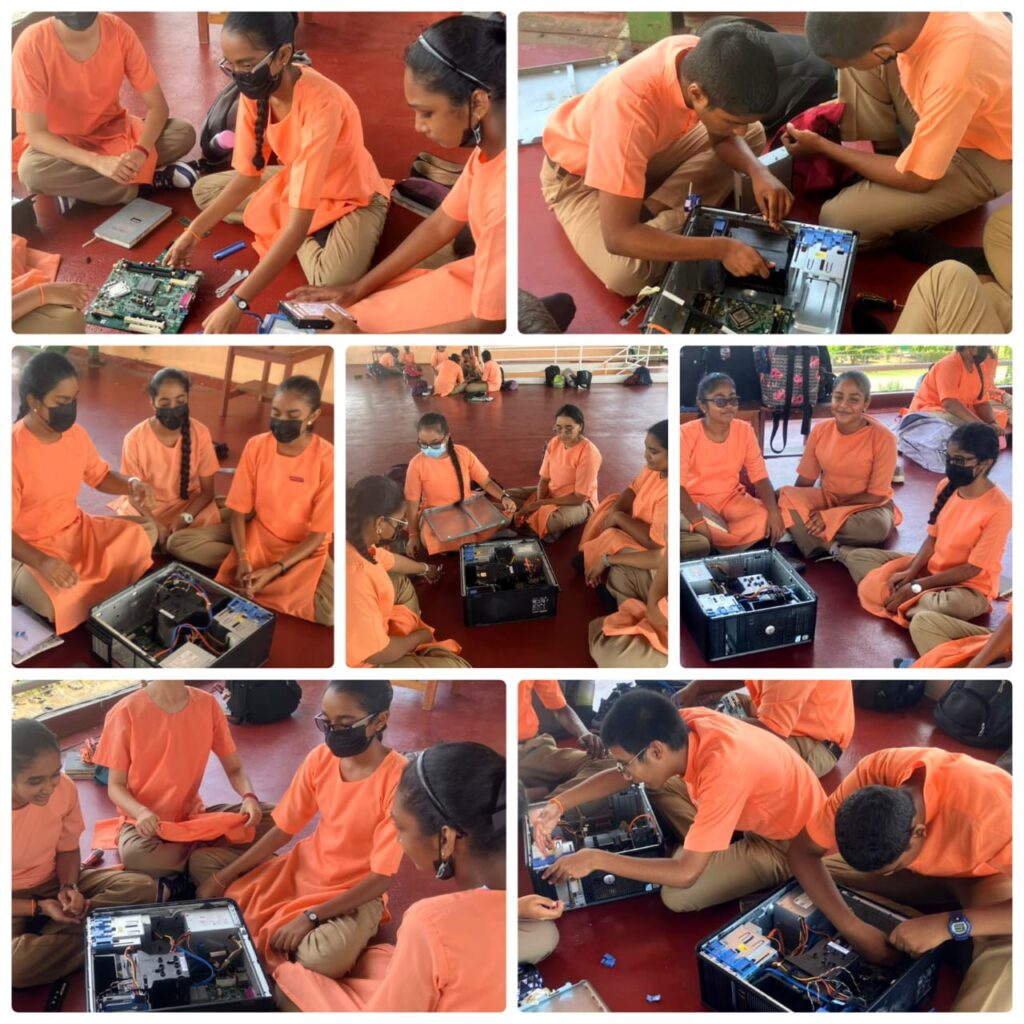 Students eagerly reassembling the system units
As we reflect on the progress made throughout this project, it’s clear that our students have come a long way in their understanding of computer hardware. From studying the basics to dismantling and identifying components, they have demonstrated a remarkable level of curiosity and dedication.
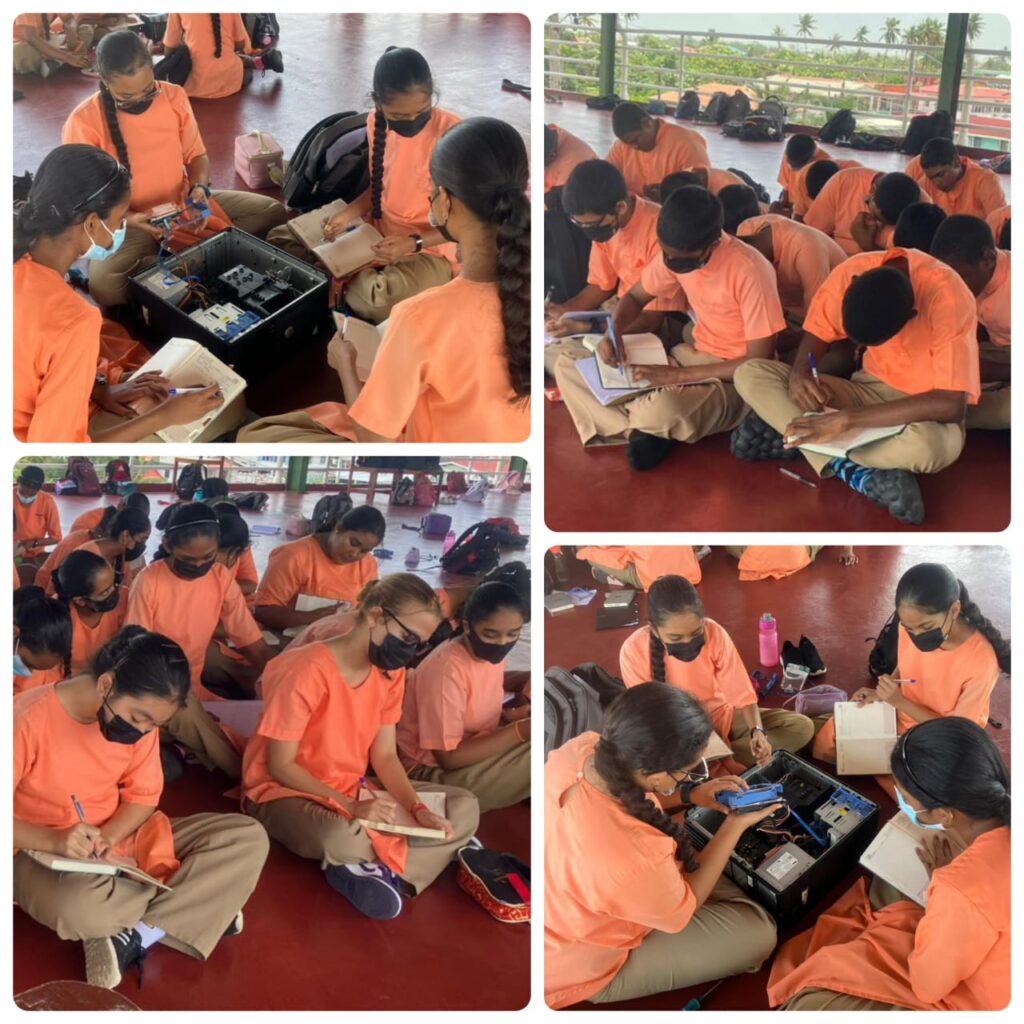
Report writing on the completed Project
Throughout the phases, students have not only acquired technical knowledge but also developed essential skills such as problem-solving, critical thinking, and teamwork. We are excited and delighted to see the final outcomes of their hard work.
11 August 2025
14 January 2025
28 October 2024
13 October 2024

7 September 2024

5 August 2024
1 March 2024

27 November 2023
23 September 2023
14 September 2023